Despite my goal of trying to blog just once a week, I just C O U L D. N O T. W A I T. to post about our “new” coffee table!! I am so thrilled with the result; not to mention the price.
Let me start from the beginning…
We have slowly started furniture shopping to replace our “starter” furniture. I really hoped to find a gorgeous reclaimed wood coffee table for our new living room. Problem is: I’m just not able to bring myself to pay $400+ for a flippin’ coffee table.
That’s when I found THIS article on Pinterest. Ironically, though I changed what they did a little to fit our room better, we actually spent the same $23 that they did (though, on different aspects)!
Ready to see what we did? I’m so excited!!
How to Upcycle your ikea coffee table
We used to have the ultra-affordable, Lack coffee table from Ikea. Didn’t we all? Unfortunately for us, our dog, Runner, sheds a lot. Black/brown is an awful color choice for the room she is in the most; that and it no longer goes with our color scheme.
Our first step was to prime the table with an oil based Zinsser primer. No sanding required. We had some left over from doing other house projects so our cost there was $0. (Don’t ask me why I primed the top. It was actually pointless to do so. Oh well!)

Excuse the mess in our basement- it’s our moving “landing zone” and we haven’t quite gotten to it yet 😉
Next step was to paint the coffee table. Again, we used leftovers from other projects and used a white paint with satin finish; purchased at Sherwin Williams. Cost to us was again, $0.
Now for the FUN part! We want to Menards and had them cut some pine for us. I can’t remember the measurements, but really it just depends on the size of your coffee table, the width you prefer your boards (we got 6 inch), and how much you want the wood to hang off. We chose Pine boards with some gorgeous knots and grains.
Make sure you lay your boards side by side before purchasing because they do tend to be warped. Choose the straightest ones as possible! Cost: $12.
Once we got the boards home, we sanded the edges and then stained the wood. We used a stain color that my parents-in-law had leftover from their first house. Yes, I said first house. 22 year old stain, ladies and gentlemen! Cost was again, free.
We sealed the wood with Polyurethane that has a matte finish. Technically we could have sealed for free but the stuff we had was semi gloss and we were absolutely loving the matte look. Cost: $11.
Last step! Once the poly was dry, we arranged the boards on the coffee table. One by one, we lifted the boards and used wood glue to adhere. (Borrowed from my in-laws; so again- free!)
We plan on adding some nails as well for extra security.
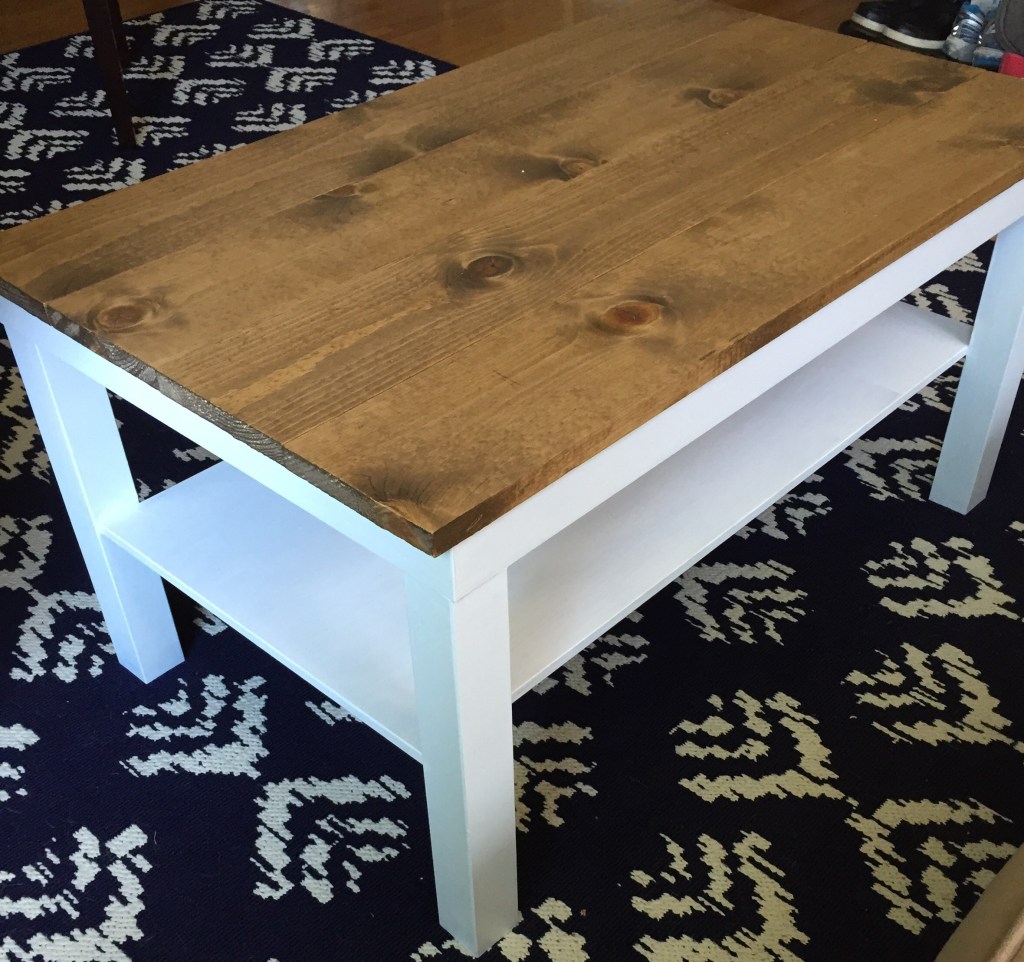
Total cost to us was $23. The result?? Drumroll please…


Best. Project. Ever.


Leave a comment